Tutorial Tuesday – Watermark

This is the last week of Tutorial Tuesday, I am sorry to see the end as I have learnt so much and this week tutorial was creating watermarks. It is so important to add a watermark to your work as there are plenty of people who will use  someone’ s work  and call it their own.

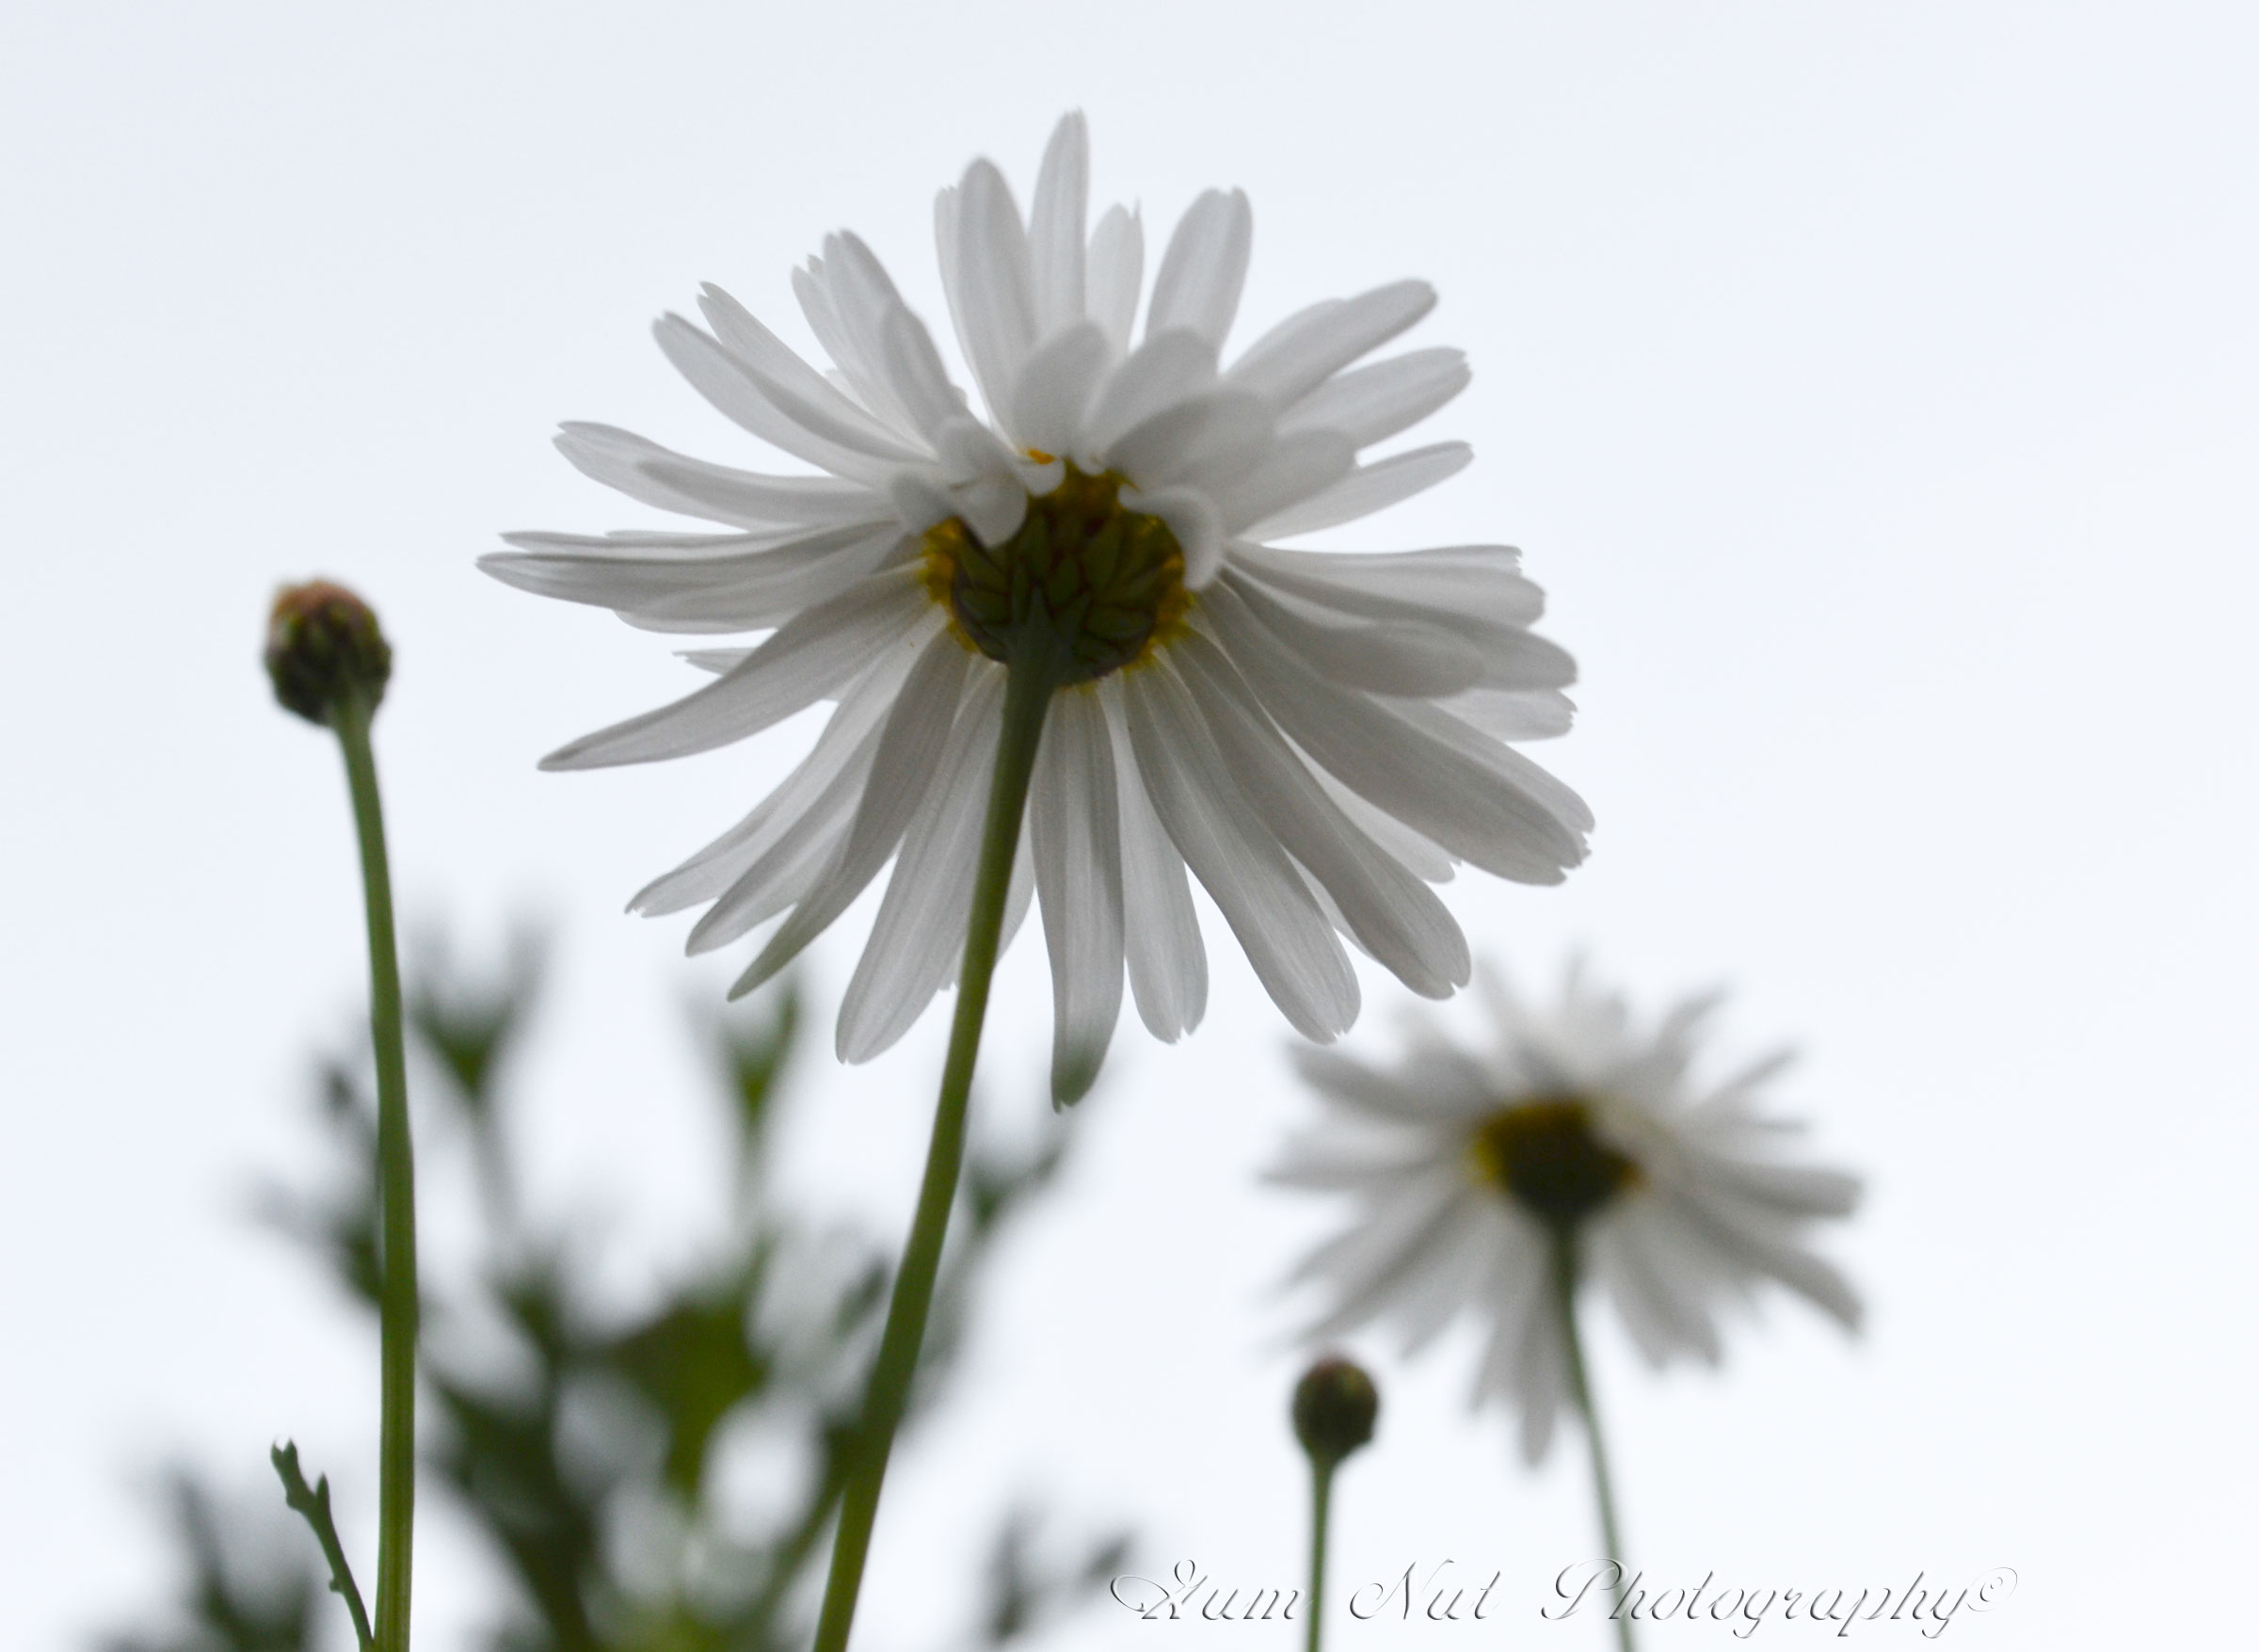
I have created several one for my photography and another for my collage designs. This photograph was taken last week after it rained, I edited it in PSE10 by layer in the Adjustment Layers and Filters.

Thank you for visiting and don’t forget to visit Tutorial Tuesday to see what everyone else has been doing.

Tutorial Tuesday – Lens Free

What a challenge, I wasn’t sure what to expect but it was startling. The first photograph was taken inside with all the lights turned on in the room and is an antique lamp that has been converted to electricity so the orange is the light from the globe. The second set were taken outside this morning no sunshine to speak of.  I had a lot of black images.

Leaf pattern on glass shade on lantern.

No editing SOOC

Edited in Lightroom to remove some of the grain

Angel Statue, edited in Lightroom and Topaz Lab

Thank you for visiting and don’t forget to visit Tutorial Tuesday to see what everyone else has been doing.

Photo Art Friday – Container(s)

This week  – I took a lot of garden shots this week and have this Eucalyptus that does not have flowers but has an intriguing pod (my containers). With my edit, I did some basic editing in Lightroom for exposure etc and then went to PSE10. I have edited the shot to make it abstract by

1. Filter Artistic/Poster edges -Multiply 70%

2. Filter Sketch/Halftone -Soft Light 100%

3. added a texture by Pixel Dust  called pdpa Jupiters Dust at Vivid Light 100%

4. added a duplicate of the texture at Multipy 100% added a layer mask and brought back only certain areas.

Original Photograph:

Edit:

Thank you for visiting and don’t forget to see other participant’s work at Photo Art Friday.

Cheers

Tutorial Tuesday – Simple Edit

What a challenge to do a simple edit. I took this photograph on Sunday while in Loxton for a SALA event and this young lady was talking to her Grandmother who was painting. I did the edit in Lightroom.

Before:

Image

After Edit:

Image


Thank you for visiting and don’t forget to visit Tutorial Tuesday to see what everyone else has been doing.

Photo Art Friday – Gift

Surprise, surprise, this week, a wild rabbit came into the house and huddled up in a corner of the living room, did the cat chase her in? I took a photograph this morning of him/her and also of some garden plants, collaged them with pdpa Art Easy Sheer Moonlight texture.

Thank you for visiting and please remember to visit Photo Art Friday to view other entries.

Cheers

Tutorial Tuesday – Golden Hour

This week our tutorial is to take photographs during the Golden Hour. I was up early enough to capture the hour before sunrise. As it is Winter I was not expecting too much. Well did I get a surprise. I have not edited these shots other than cropping.

Image


I wonder what the Golden Hour at Sunset will reveal. I have been back through my sunset photographs and have some that were taken during the Golden Hour, but I will revisit my garden later today.

Please take the time to visit other participants the link is in the sidebar.

Cheers for now.

Photo Art Friday – Door

I have deviated from Bonnie’s challenge this week. I have incorporated a door, air conditioner grill, and the droopy leaves from a garden plant with  “Statement Frames” as my texture. I basically used the great recipe of converting image to black and white and then used the find edges or poster edges under the Filters Stylize and Artistic and played with the blending modes. I started to work on another project and by happy coincident decided to put my model’s face (Twiggxstock) into the mix.  I thank Ineke van den Akker-Veugelers for her door photograph.

Thank you for visiting and please remember to visit Photo Art Friday to view other entries.

Cheers

Tutorial Tuesday – Matte

This week’s tutorial is to take an image and convert it to a matte image. I have used two photographs, one of Henk and myself (that you have seen before) and a landscape shot I took yesterday. I did my editing in Lightroom and here the clarity is lowered and the vibrancy set to your liking and then the play comes in the Split Toning and you do have to play to get the look you are after, also saturation plays a big part in this process. I was particularly interested in the effect on a landscape scene, so I have posted before and after.

Original landscape:

Matte Edit:

Thank you for visiting and remember to go to Tutorial Tuesday to view other entries.

Cheers